

TbredComm Communication Server Window
Start TbredComm
Section titled “Start TbredComm”Select the Windows Start button, select All Programs–>Thoroughbred Software–>TbredComm. Or select the appropriate TbredComm shortcut. The TbredComm Communication Server Window will display.
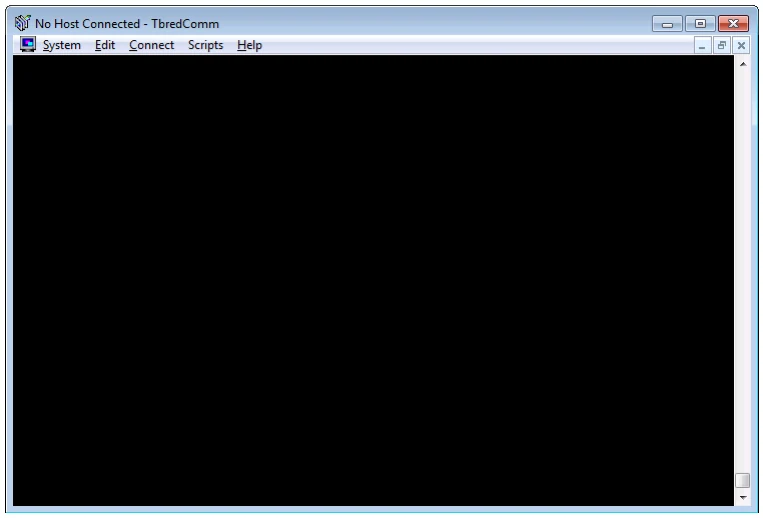
The TbredComm Communication Server window is parent window for the TbredComm
emulation window. It can be minimized, displayed as normal or maximized to fit the
TbredComm Communication Server window. The TbredComm window automatically resizes
proportionally to the selected point size. For more information, please see the Menu Options,
System, Select Font section of this manual.
When connected to a host the TbredComm Communication Server window title bar will display either the name of the current host or the Autologon description.
The scrollbar allows you to scroll back through the last 100 lines of history in the TbredComm emulation window.
Starting TbredComm automatically starts the WorkStation Manager displaying the icon in the
system tray. Use the WorkStation Manager to manage the various TbredComm options. For more
information see the WorkStation Manager manual (TbredComm and TbredComm AutoLogon
tabs).
Menu Options
Section titled “Menu Options”From the TbredComm Communication Server window you have the following menu options.
System
Section titled “System”Thoroughbred Applications Provides access to the Thoroughbred HotKey (CTL-P) menu. For more information see the Dictionary-IV Administrator Guide. Also see WorkStation Manager (Applications).
Settings Allows you to change the backspace character and print manager mode for the TbredComm session.
Backspace Allows you to select the backspace character, either a UNIX/Windows backspace, 0x08, or a VMS backspace, 0x7F.
Printer
Allows you to select Pass-through or Standard print manager mode.
In Pass-through mode, all output will be spooled to the Microsoft Windows Print Manager and use existing Dictionary-IV printer tables. If you use the Windows Print Setup facility to change printer type, you must reassign your printer table to the new type.
In Standard mode, all output will be spooled to the Microsoft Windows Print Manager and use a standard printer table, which enables you to use the Windows Print Setup facility to change printer type without having to reassign your printer table to the new type.
To use a standard printer table, you must create a printer table that contains a set of escape sequences. For more information on how to create the printer table, please refer to the Thoroughbred Environment for Windows Supplemental Guide.
For more information on Dictionary-IV printer tables, please refer to the Dictionary-IV Administrator Guide.
Select Font The font window appears and allows you to select the font face, style, and point size to be used with TbredComm. The TbredComm window automatically resizes proportionally to the selected point size. Resizing the TbredComm window by grabbing and dragging the window frame automatically adjusts the point size based on the window size.
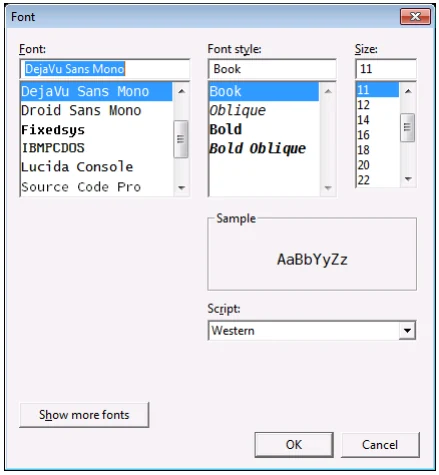
Althought a variety of fonts are available, we highly recommend using a fixed font. The default and recommended font is the DejaVu mono font point size 11. This font will provide good font mapping for an 80x24 character application.
If your application makes use of the Thoroughbred business graphic characters (mnemonics “G0”-“GF”) you must select a font that supports those characters. The DejaVu, Tbred, Courier New and IBMPCDOS fonts support these characters.

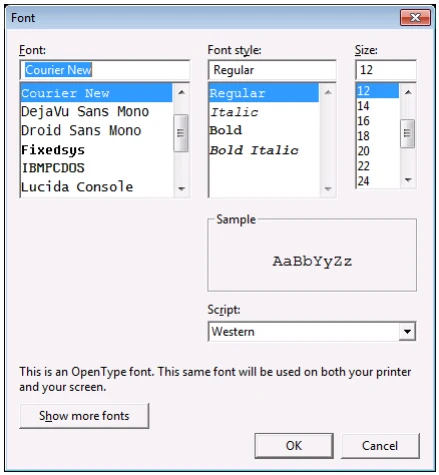
Select Print Font The font window appears and allows you to select the font face, style and point size to be used when slave printing through TbredComm.
Print Setup
The print window appears and allows you to select the printer and printer properties.
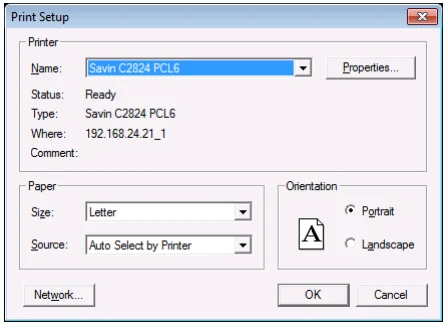
Print Screen The print window appears (see above) and allows you to print the screen. This will print the current TbredComm screen including the last 100 lines of history.
File Transfer
Allows you to start the FTP application defined on the Servers tab of the WorkStation Manager.
Exit
Exit TbredComm.
Copy
Select Copy to copy the highlighted text to the clipboard.
Paste
Select Paste to paste the contents of the clipboard in to the TbredComm window.
Connect
Section titled “Connect”TCP/IP Host
Select this option to connect to a TCP/IP host. The following screen appears.
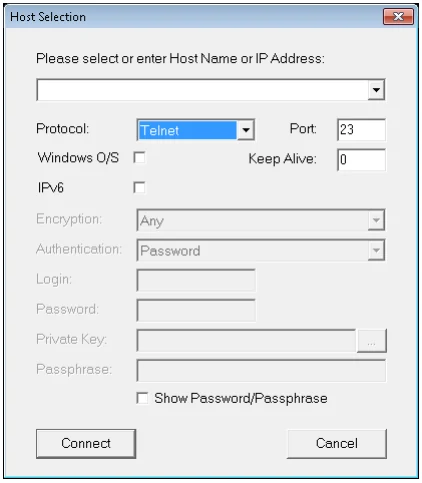
For more information see the Connect TCP/IP (Protocol: Raw and Telnet) or the Connect TCP/IP (Protocol: SSH1, SSH2, SSHAuto) section later in this manual.
AutoLogon Make this selection to use the AutoLogons set up in the WorkStation Manager (TbredComm AutoLogons tab). The following window appears.
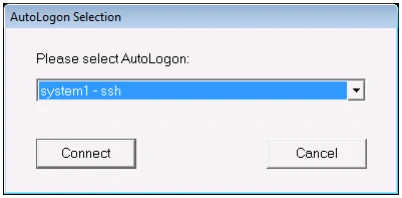
The host connect dialog prompts you to select from a list of AutoLogons. For more information on AutoLogons, see the WorkStation Manager Manual AutoLogons tab.
Direct Line or Modem Select this option to make a dialup or modem connection through the Internet to a remote host. The following screen appears.
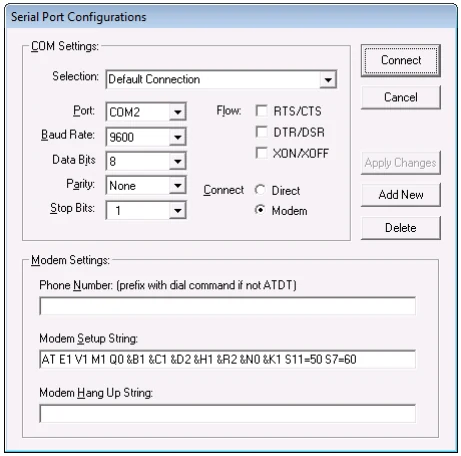
For more information see Connect Direct Line or Modem section later in this manual.
Drop Connection
Selcet this to disconnect from the remote host and exit TbredComm.
Scripts
Section titled “Scripts”Run Script Select this option to playback a recorded script. A file selection dialog appears to select the recorded script.
Stop Script
Select this option to cancel the playback of a recorded script.
Start Recording
Select this option to start the recording of keyboard and mouse input.
Stop Recording Select this option to stop the recording of keyboard and mouse input and save the recorded input as a script. A file save dialog appears to save the recorded input as a Thoroughbred Recorded Script ( i.e. .trs ) file.
Edit Script Select this option to edit a recorded script. A file selection dialog appears to select the recorded script.
Shows you what version of TbredComm you are running.
From the TbredComm Reference, version 8.9.1. Open this page in the PDF