

Using TSWebTerm
Resizing the Terminal Window
Section titled “Resizing the Terminal Window”When not running the browser as a maximized window, the size of the terminal window will be determined by the browser window size. If the browser window is resized, the terminal window size will also be resized.
The terminal window can also be resized manually in Basic. One method to manually resize the terminal window is to open the control-p menu and select Update Browser Window Size:
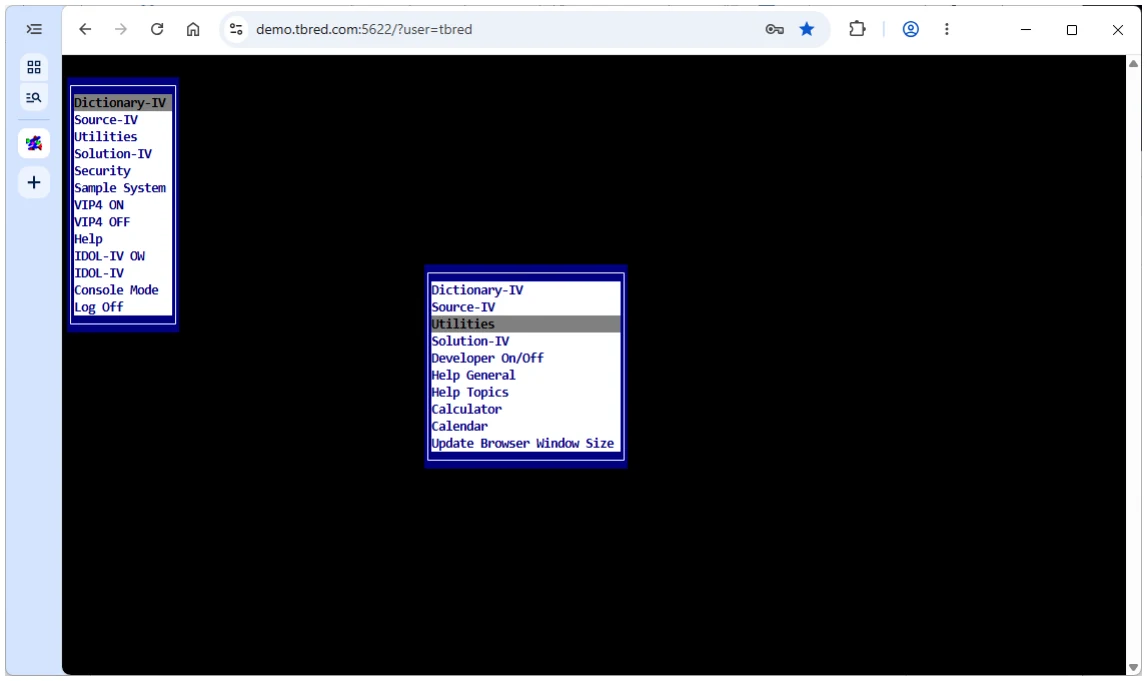
Another method to manually resize the terminal window is to print the Resize Window mnemonic, ‘RW’, in Basic console mode:
basic> PRINT ‘RW’
Changing the Font Size
Section titled “Changing the Font Size”The font size of the terminal window can be changed by using the Zoom feature of the browser. From the browser’s menu, click on the + next to Zoom to increase the font size or click on – to decrease the font size.
The font size can also be changed by using keyboard shortcuts to Zoom in or out. To increase the font size, enter control +. To decrease the font size, enter control -.
Selecting Text
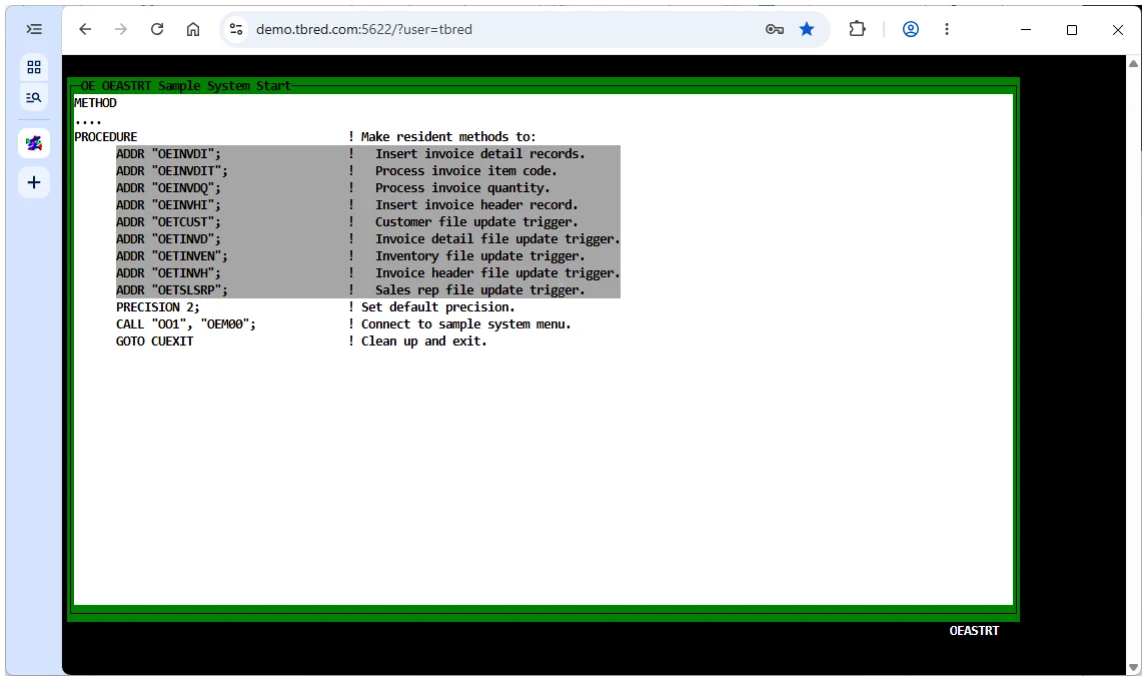
Section titled “Selecting Text”There are 2 modes for selecting text in TSWebTerm. In the default mode, line mode, click the left mouse button and drag the mouse to select text. Selecting multiple lines of text will wrap around the end of each line.
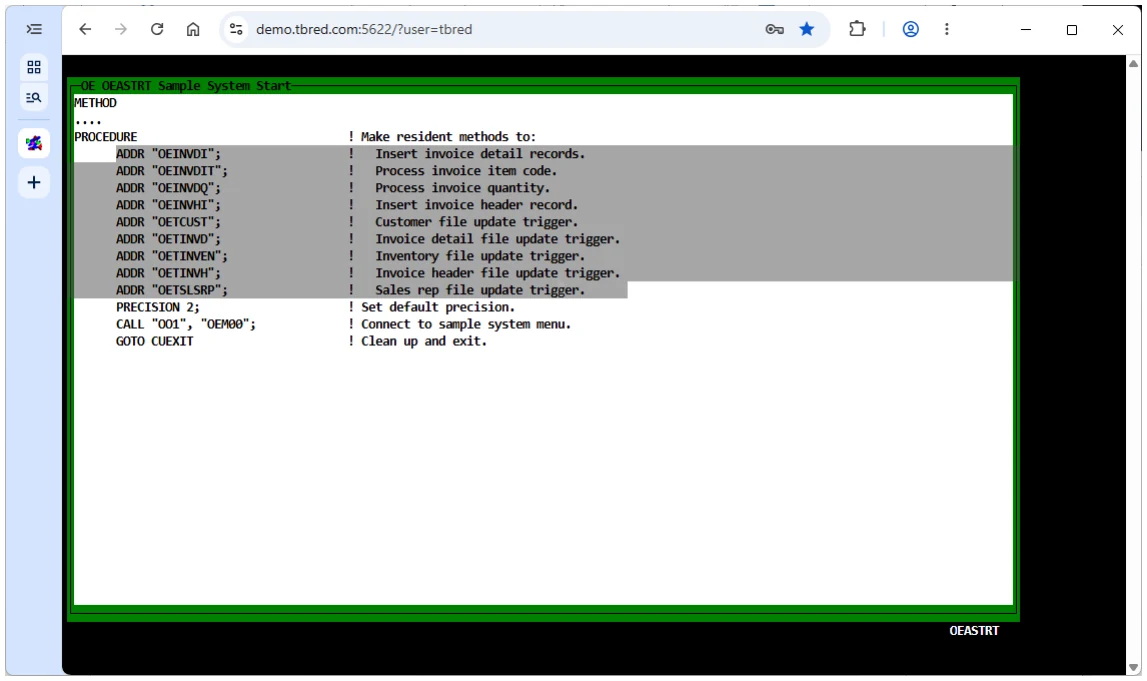
In column mode, click the alt key and the left mouse button to select a rectangle of text. When in column mode, the cursor will be changed to a cross. Selecting multiple lines will not wrap around the end of each line. This is similar to the Smart Copy option in TbredComm.
Copy/Paste
Section titled “Copy/Paste”Copying and pasting of text can be performed via the keyboard or the mouse.
To copy selected text via the keyboard, enter control-shift-c or control-c. If no text is selected, control-c will send an interrupt.
To paste text via the keyboard, enter control-shift-v or control-v.
Mouse Aware
Section titled “Mouse Aware”TSWebTerm is mouse aware, but this feature is disabled when you first connect to a system. Once you start up a Basic session, mouse aware will be enabled. When you release out of Basic, mouse aware will be disabled.
Mouse aware can also be enabled or disabled manually printing the Mouse Begin or Mouse End mnemonics, ‘MB’ or “ME’, in Basic console mode. To manually enable mouse aware:
basic> PRINT ‘MB’
To manually disable mouse aware:
basic> PRINT ‘ME’
Context Menu/Control-p Menu
Section titled “Context Menu/Control-p Menu”When mouse aware is enabled, a right-click will generate a control-p, displaying the control-p menu:
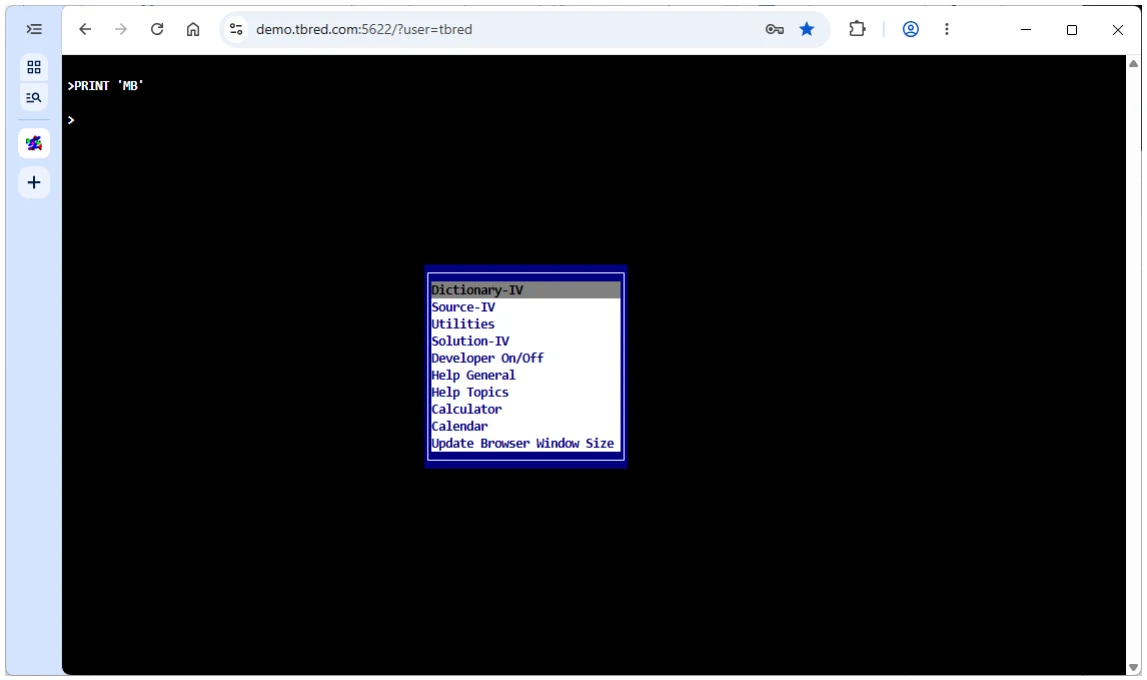
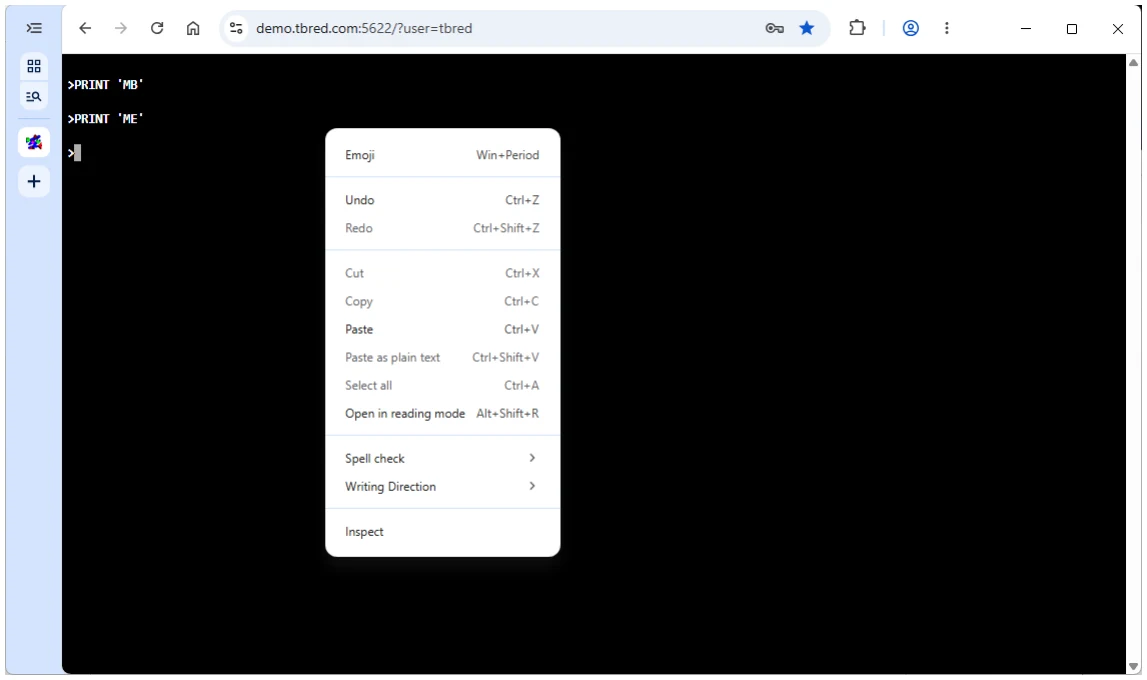
When mouse aware is disabled, a right-click will display the browser’s context menu.
When mouse aware is enabled, a control right-click will display the browser’s context menu:
Line-Insert and Line-Delete
Section titled “Line-Insert and Line-Delete”Similar to other Thoroughbred products, a line insert is generated by entering shift-insert and a line delete is generated by entering shift-delete. A line insert can also be generated by entering control-a, and a line delete by entering control-d.
Printing Overview
Section titled “Printing Overview”TSWebTerm printing will generate a PDF file that is made available through the browser. Depending upon the browser settings, the PDF file will be downloaded and opened in a new tab, downloaded by the browser with an option to save the file, or the user will be prompted for an action. To accomplish this TSWebTerm utilizes both Thoroughbred Report-IV to PDF (with 3GL wrapper) product and the Gateway for Windows product. Both of these products are now bundled with Dictionary-IV.
Before you can print using TSWebTerm, you must first install them. To install and configure Report-IV to PDF with 3GL Wrapper please refer to the Report-IV to PDF manual. To install Gateway for Windows simply include that GWW product when doing the Dictionary-IV installation (merge), please refer to the Dictionary-IV installation manual for details.
Printing to a Type 2 Printer
Section titled “Printing to a Type 2 Printer”A standard slave printer must be defined in the IPLINPUT file.
DEV PS,4,,,,2,,tty
For more information on defining this printer type in the IPL file please refer to the Basic manuals.
The printer must have a Dictionary-IV printer assignment using the STNDRD printer table distributed with Dictionary-IV. From the Dictionary-IV System Administration menu select Printer Assignment and assign the STNDRD printer table to the device defined in the IPLINPUT file:
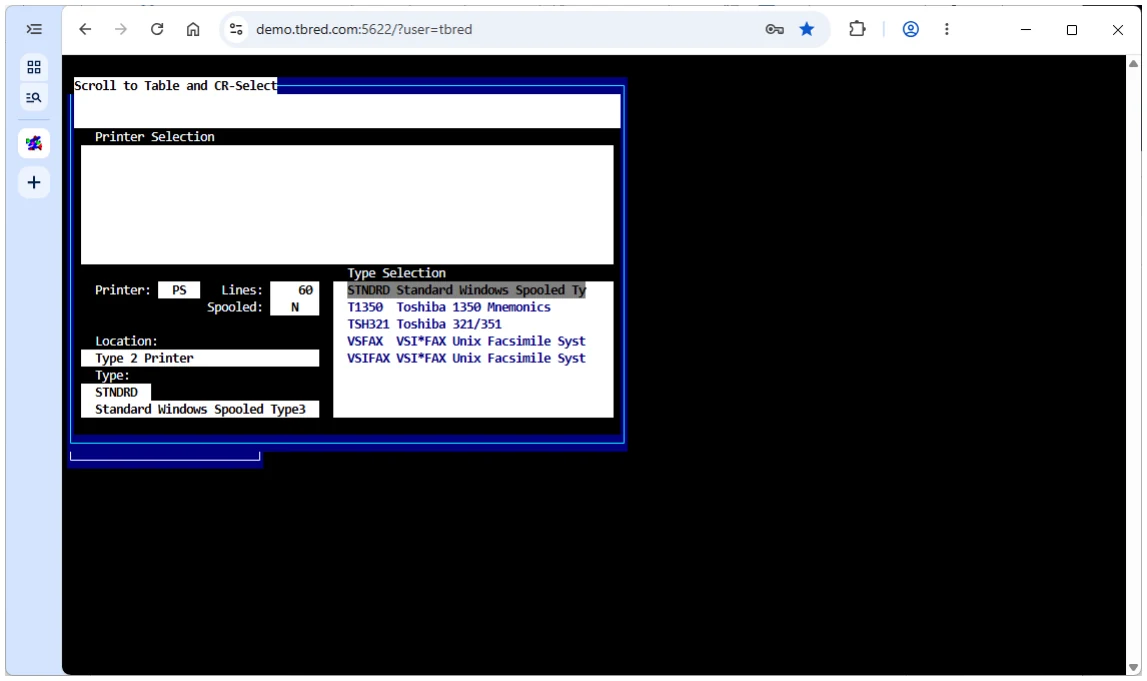
When a type 2 printer is selected as the output device, TSWebTerm will automatically generate the output in PDF format. Depending upon the browser settings, the PDF file will be downloaded and opened in a new tab, downloaded by the browser with an option to save the file, or the user will be prompted for an action. To change this behavior please refer to your browser settings.
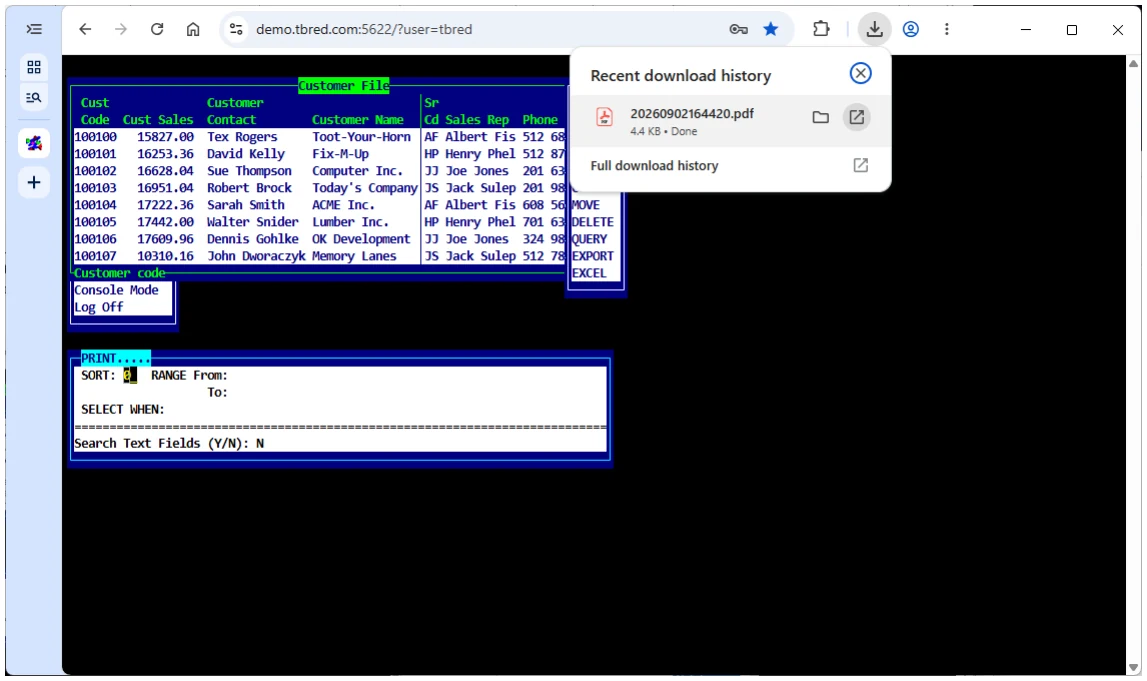
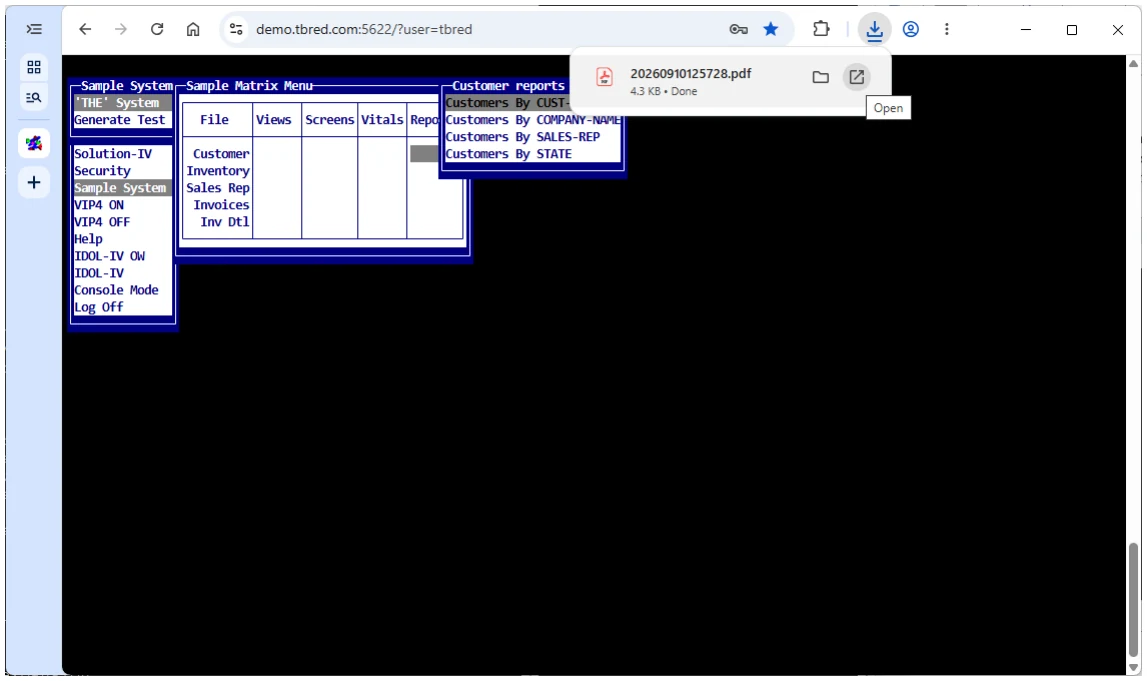
In the following example the F8 Print option from an OPENworkshop View was selected and a type 2 printer was chosen for output. The PDF file was generated and downloaded by the browser. The PDF file is saved in the browser download directory. The file name is YYYYMMDDhhmmss.pdf.
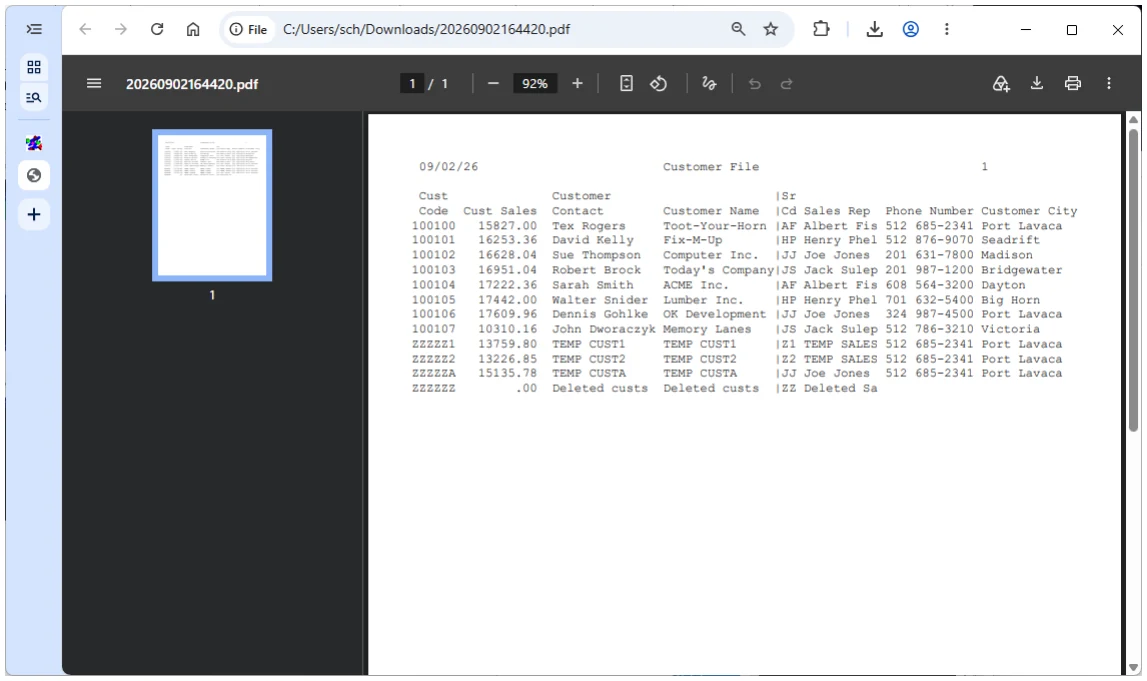
Selecting Open in the Downloads menu of the browser will open the PDF in a new tab:
Printing to Report-IV to PDF and 3GL Wrapper
Section titled “Printing to Report-IV to PDF and 3GL Wrapper”Both the Report-IV to PDF and the 3GL wrapper are supported by TSWebTerm. Viewing and saving a PDF file is seamless when using TSWebTerm. It does not require a network share (e.g. Samba) or an http server to download and view the PDF documents. Depending upon the browser settings the PDF file will be downloaded and opened in a new tab, downloaded by the browser with an option to save the file, or the user will be prompted for an action. To change this behavior please refer to your browser settings.
This feature is controlled by a new option in Report-IV to PDF maintained in the logical format #OOFPDF1.TC-AUTO-LOAD. When set to Y the PDF file will automatically be processed through the browser. This is the default setting, any other value will disable this feature and the Report-IV to PDF product will behave as it did in previous releases using TbredComm.
To change the value, use Dictionary-IV Format Maintenance to edit OOFPDF1 and clear the PreSet value. For the change to take effect the global settings stored in #OOFPDF1 must be reloaded. From the Report-IV to PDF Utilities menu select the option to Reset Global Settings. The value can be manipulated dynamically by changing the value of #OOFPDF1.TC-AUTO-LOAD prior to executing a CONNECT Report or in the 3GL program that calls the 3GL wrapper OORPDFX.
For more information, please see the Report-IV to PDF manual.
Printing to TS ReportServer
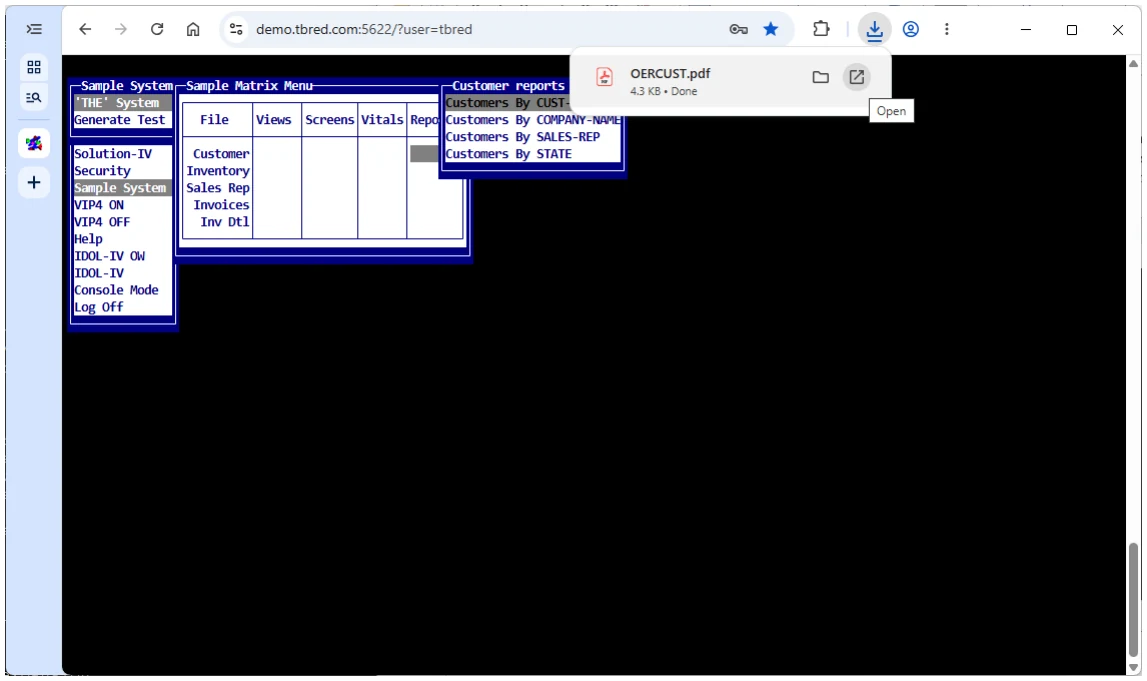
Section titled “Printing to TS ReportServer”The TS ReportServer product supports printing in TSWebTerm. It does not open the ReportServer window on the workstation, instead it will generate a PDF file. Depending upon the browser settings, the PDF file will be downloaded and opened in a new tab, downloaded by the browser with an option to save the file, or the user will be prompted for an action. To change this behavior please refer to your browser settings.
From the Thoroughbred Web Terminal Reference, version 8.9.1. Open this page in the PDF